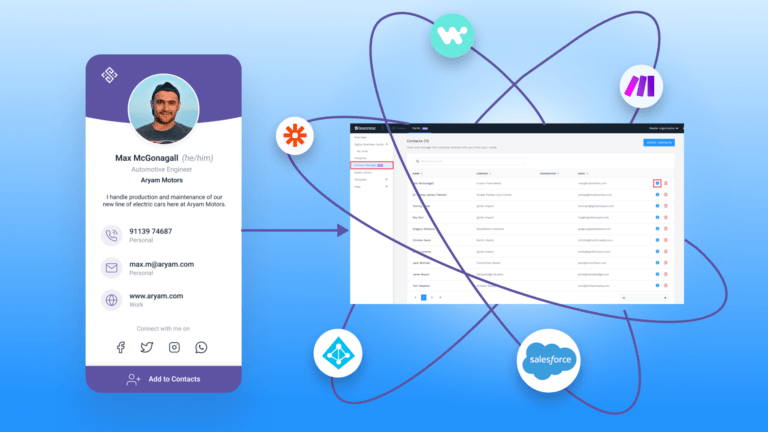
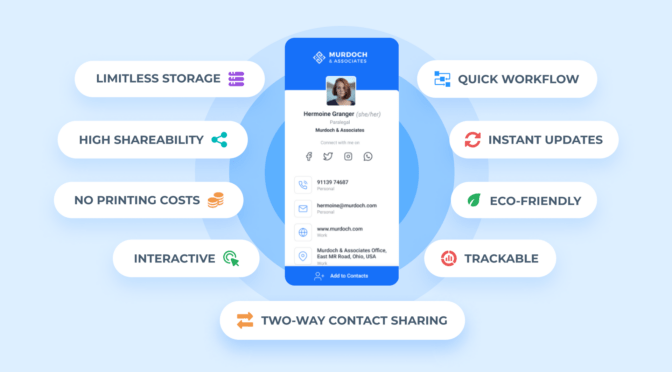
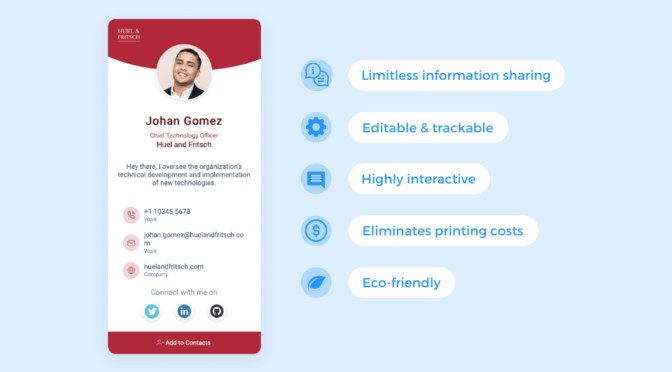
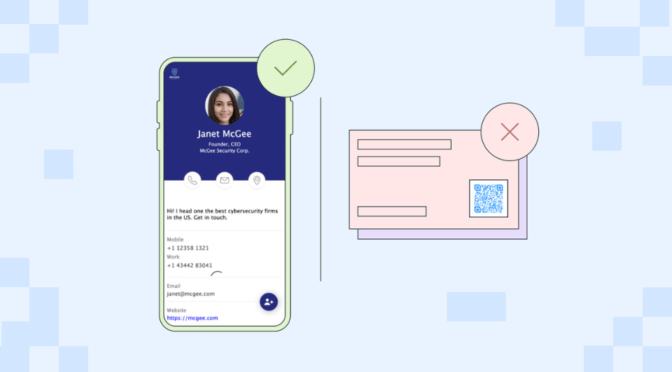
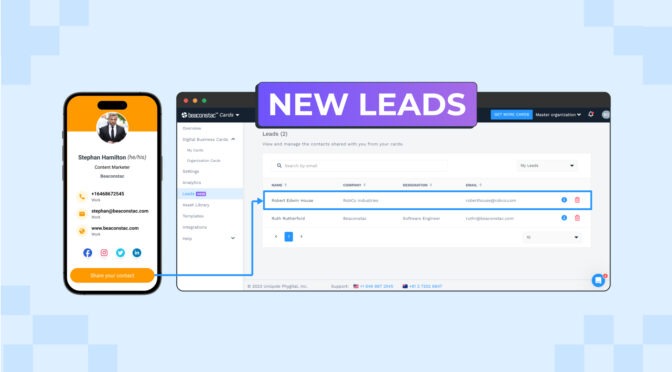
One standout feature that sets digital business cards (e-business cards) apart from their paper counterparts is two-way contact sharing. Recipients can submit their contact details via the card you hand out, and your digital business card solution stores each submission in a digital address book.
Now, while digital business cards excel in capturing lead information, the real challenge is turning these leads into customers.
The journey from initial contact to conversion requires strategic nurturing. One way to start this process is to export your digital address book to your company’s CRM software. This centralizes all leads to your primary lead management tool (CRM) for nurturing and tracking.
But how do you efficiently transfer your digital business card leads to a CRM? What are the different ways you can export? Keep reading to find out.
Table of contents
- How to export contacts from your e-business card solution to a CRM
- 5 real-life use cases of integrating an e-business card solution into a CRM
- Export collected leads from Uniqode to your organization’s CRM software
How to export contacts from your digital business card solution to your CRM
You can export the leads captured through your e-business card to a CRM via two methods:
- Integrate directly into your company’s CRM (such as Salesforce)
- Use Zapier to connect to a broader range of CRM tools
📝Note: We will use Uniqode’s digital business card solution for this demonstration. You can access Zapier integrations on the BUSINESS plan. Direct integration to Salesforce is accessible on BUSINESS+.
If you don’t have a Uniqode account, you can sign up for a no-commitment 14-day free trial to build digital business cards and a digital address book. No credit card required. 
Or, you can also check out our digital business card pricing plans.
1. Integrate directly into Salesforce
This lead exporting method directly integrates Uniqode with Salesforce, one of today’s most popular CRM platforms.
Step 1: Get Salesforce’s Callback URL from Uniqode
Sign-in to your Uniqode admin account and click “Integrations” in the left menu.

Choose “Salesforce.”

Then, copy the “Callback URL” shown on your screen and click “Next.”

Step 2: Paste the Callback URL to Salesforce
📝Note: Uniqode remains discoverable on platforms like Salesforce and Zapier. You can still create connections using the familiar Uniqode logo.
Go to your Salesforce account.
If you’re using Lightning Experience:
- Click the gear icon near the bell icon in the top-right corner, then click “Setup”
- In the left menu, under “PLATFORM TOOLS,” expand “Apps,” then click “App Manager”
- Click “New Connected App” in the top-right corner
- Enter “Uniqode” in the “Connected App Name” field
- Enter “Uniqode” in the “API Name” field
- Enter your email address in the “Contact Email” field
- Check “Enable OAuth Settings” in the “API (Enable OAuth Settings)” section
- Paste the Callback URL you copied from Uniqode in the “Callback URL” box
- For the “Selected OAuth Scopes” field, select and add the following scopes:
- Access the identity URL service (id, profile, email, address, phone)
- Manage user data via APIs (api)
- Perform requests at any time (refresh_token, offline_access)
- Lastly, scroll down to the bottom of the page and click “Save,” then “Continue”
📽️ See it in action
If you’re using Salesforce Classic:
- Click “Setup” in the top-right corner
- In the left menu, under “BUILD,” expand “Create,” then click “Apps”
- In the “Connected Apps” section, click “New”
- Enter “Uniqode” in the “Connected App Name” field
- Enter “Uniqode” in the “API Name” field
- Enter your email address in the “Contact Email” field
- Check “Enable OAuth Settings” in the “API (Enable OAuth Settings)” section
- Paste the Callback URL you just copied from Uniqode in the “Callback URL” box
- For the “Selected OAuth Scopes” field, select and add the following scopes:
- Access the identity URL service (id, profile, email, address, phone)
- Manage user data via Web browsers (web)
- Perform requests at any time (refresh_token, offline_access)
- Lastly, scroll down to the bottom of the page and click “Save,” then “Continue.”
📽️ See it in action
Step 3: Copy the Consumer Key and Secret from Salesforce
If you’re using Lightning Experience:
- In the left menu, under the “PLATFORM TOOLS” section, expand “Apps” then “Connected Apps”
- Click “Manage Connected Apps”
- Click “Manage Consumer Details”
- Enter the verification code sent to your email, then click “Verify”
- Copy the “Consumer Key” and “Consumer Secret”
📽️ See it in action
If you’re using Salesforce Classic:
- Click “Setup” in the top-right corner
- In the left menu, under “BUILD,” expand “Create” and then “Apps”
- Under the “Connected Apps” section, click the Uniqode app you created
- Enter the verification code sent to your email, then click “Verify”
- Copy the “Consumer Key” and “Consumer Secret”
📽️ See it in action
Step 4: Paste the Consumer Key and Secret in Uniqode’s Dashboard
On Uniqode’s dashboard, go to Integrations, then Salesforce.
Paste the Consumer Key and Consumer Secret you copied from Salesforce in their designated fields, then click “Connect.”

You will be redirected to a Salesforce verification page. Click “Allow.”

📝Note: Your e-business card leads are synced with Salesforce every 15 minutes. If you want to disconnect from Salesforce, click “Disconnect.” Syncing new contacts will cease upon disconnecting, but contacts already exported to Salesforce remain unaffected. You can reconnect with Salesforce again by performing the steps we have covered.
To learn more about executing and maintaining this integration, check out our official, easy-to-implement guide on exporting your collected Contacts from Uniqode to Salesforce CRM.
2. Export your contacts/leads to 700+ other CRMs via Zapier
This lead exporting method uses Zapier—a workflow automation platform—to initiate connections between Uniqode and 700+ other CRM tools. These CRMs include HubSpot, Zoho CRM, and Pipedrive.
Step 1: Get your Uniqode account’s API Key & Tenant URL to Zapier
Sign in to your Uniqode account. Click “Integrations,” and choose “Zapier.”
Copy “YOUR API KEY” and “ORGANIZATION ID.”

Step 2: Initiate the connection between Uniqode and Zapier
Sign-in to your Zapier account and click “Apps” in the left menu.

Search for “Uniqode” and click “Connect.”

Paste the copied YOUR API KEY and ORGANIZATION ID in the “Developer token” and “Organization ID” fields, respectively.

Click “Yes, Continue.”
Step 3: Create and publish a Zap between Uniqode and your company’s CRM software
Sign-in to your Zapier account and click “Zaps” in the left menu.
Click “Create,” then click “New Zap”

Follow these procedures to create a Zap—Zapier’s term for app automation—between Uniqode and your organization’s CRM software. Let’s create a Uniqode-HubSpot Zap to demonstrate.
Configure the Zap Trigger:
- In the Trigger section, choose “Uniqode”
- Choose “New Leads Created” from the drop-down in the “Event” field
- Choose your Uniqode account, then click “Continue”
- Click “Test Trigger.” The data will be fetched from your selected account if no inconsistencies are found
- Click “Continue”
Configure the Zap Action:
- In the Action section, choose “HubSpot”
- Choose “Create Contact” from the drop-down in the “Event” field
- Choose your HubSpot account, then click “Continue”
- In the “Action” drop-down, choose the contact information fields you want to export to HubSpot. For instance, you can map the following fields:
- Contact information: First Name (maps to the first name field from Uniqode)
- Contact information: Last Name (maps to the last name field from Uniqode)
- Contact information: Email (maps to the email field from Uniqode)
- Contact information: Company Name (map to the company field from Uniqode)
- Click “Continue”
After setting up both Trigger and Action, you can click “Test action” if you want to verify the configurations. Otherwise, click “Skip Test.”
Finally, hit “Publish.”
📽️ See it in action
Once this Zap goes live, every new contact you collect through an e-business card is added to your HubSpot CRM (listed under the “Contacts” menu). To learn more about executing and maintaining this integration, check out our official, easy-to-implement guide on how to integrate Zapier with Uniqode.
The 3 key benefits of exporting contacts from your digital business card solution to your CRM
1. Eliminate manual tasks and smoothen your company’s lead management workflows
A specialized e-business card solution will provide all the functionalities you need to conveniently export the leads you collect via your card to a CRM. Integrate directly with popular CRMs, such as Salesforce and HubSpot, or connect to hundreds of other CRM toolsvia Zapier.
2. Centralize all your company’s lead-related information
Transfer your high-quality leads to one place: your CRM. Having all your leads in your primary lead management tool gives you a comprehensive view of all critical sales opportunities.
3. Conduct efficient follow-ups to take leads to your sales pipeline
You are in a better position to conduct follow-ups (manual or automated). Your sales team can also easily progress each lead from first contact to conversion.
5 real-life use cases of integrating your digital business card solution into your CRM
- Export and nurture leads from an event
- Store leads from sales calls and meetings—all in 1 place
- Build a personal brand and establish a community around it
- Nurture the student leads you gather from various sources
- Centralize leads collected through email marketing
1. Export and nurture leads from an event

Digital business cards help streamline lead generation during events such as trade shows, thanks to two-way contact sharing. And each contact you capture via your card goes to your solution’s digital address book as a lead entry.
However, each captured lead requires nurturing to steer them to your conversation funnel. For most companies, this begins with directing the leads to a CRM. With a specialized digital business card solution such as Uniqode (👋that’s us), you can integrate the leads you capture via your card during these events into your CRM software.
2. Store leads from sales calls and meetings—all in 1 place
Sharing a business card with a prospect during a sales call is standard practice. But opting for digital business cards empowers your prospects to share their contact details in return—even long after the meeting.
If you gather many leads via your card during these sessions, you can easily transfer them to your CRM software. Your digital business card provider will automatically sync the contacts to your CRM, regardless of the integration method you use.
3. Build a personal brand and establish a community around it

Your digital business card reflects your professional identity, expertise, and credibility. Hence, it can help you make positive first impressions with prospects while capturing their details as leads.
The key value emerges when you transfer these leads to your CRM software. The insights you derive can enable you to personalize engagements and formulate interaction plans.
Whether you’re a creative, freelancer, or solo brand owner, you can transform each captured lead into a member of a growing community around your personal brand.
4. Nurture the student leads you gather from various sources
Educational institutions can use digital business cards to collect prospective student data, capturing details of those interested in their educational programs.
The administrators can transfer the collected student leads to their institution’s CRM software. With the leads stored in the CRM, the educational admins can begin the nurturing process. This involves personalized communications to address student queries and understand specific preferences.

5. Centralize leads collected through email marketing
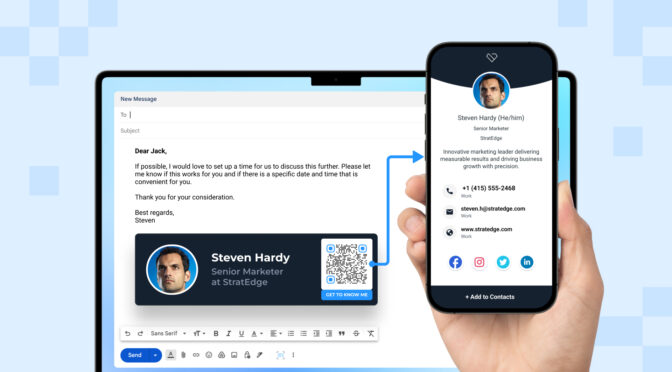
Having your digital business card in your email signature lets you go beyond displaying basic information. It provides your email recipients with quick access to their desired information.
Additionally, it strengthens the lead-capture capability of your emails. If links in your email body fail to get your audience’s attention, you still have a chance to get their contacts via the attached e-business card in your email sign-off.
As you already know, every lead or contact your card captures will automatically sync to your CRM.
Export your collected leads from Uniqode to your organization’s CRM software
Consolidate high-quality leads in one place for strategic nurturing via Uniqode-CRM integration. This positions you to tailor targeted approaches for converting leads into valued customers.
In addition to these integration capabilities, Uniqode’s digital business card solution gives you all the features to create, manage, and share e-business cards at scale:
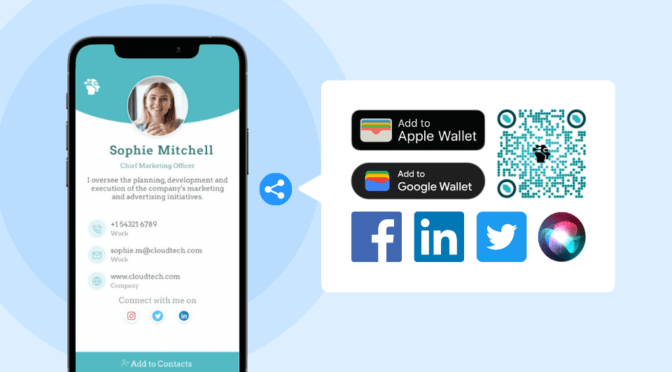
- Share your digital business cards via Apple Wallet (or Google Wallet)
- Enable Two-Way Contact Sharing to capture warm leads using your card
- Track and analyze your digital business card’s engagement metrics
- Centrally manage all e-business cards created within your company
You can access these functionalities (and more) without downloading an additional app. Enterprise-grade security measures also safeguard your networking activities.


